To add content to a syllabus, you should first create a syllabus. You can do this one of two ways:
Topics in this guide
Adding sections
- Use the buttons at the top of the Syllabus Editor to add and begin editing a new section.
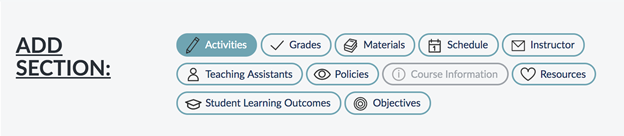
A button will be highlighted when you are currently editing that section. When a button is grayed out, it means that you already have that section type in your syllabus. Certain section types can only be added once.
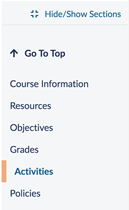
When you add a section, the page should automatically scroll to the editor for that section. If you scrolled away from it and want an easy way to get back to it, use the highlighted quick link in the right sidebar:
Using the Section Editor
What is the Section Editor?
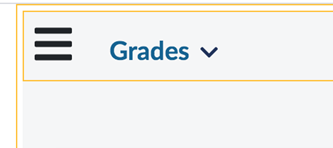
Most section types have unique form fields in their editors, and will look slightly different from one another. However, there are some common fields and actions for each type. The section that is being edited will be surrounded by a yellow outline and can be quickly scrolled to by using the quick link on the right sidebar.
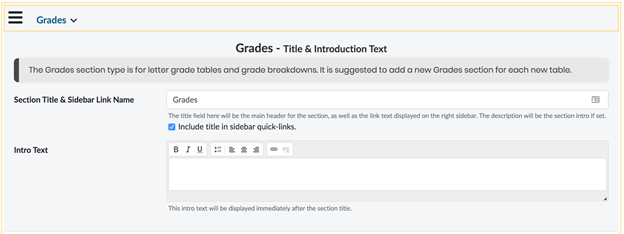
Title & Introduction Text
The Title & Introduction Text area can be found on every section type. You are able to change the Section Title/Sidebar Link Name to suit your own content. For instance, "Grades" could be changed to "Grading Scale" or "Grade Breakdown." The Intro Text is a place that can be used to give a high-level overview of the content in this section or whatever you prefer. An example use of Intro Text for the "Grades" section could be to outline your policy on grade appeals.
Section Items
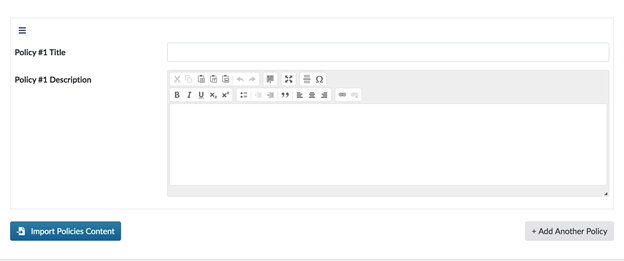
Section Items vary depending on the section type. For the Policies type, a section item would be a single policy title and description. You can add as many section items as you want to a section (e.g. as many individual policies as you want to a Policy section).
- To add another section item, use the gray button that is to the bottom right of the section editor. For the Policy section type example, this button is labeled + Add Another Policy, as shown below.
Note: If you added a section item by accident then just leave it blank. Blank section items do not get saved to the syllabus. To edit or delete section items that you have already saved, proceed to the next tutorial section.
Editing, Deleting, and Changing the Order of Section Items
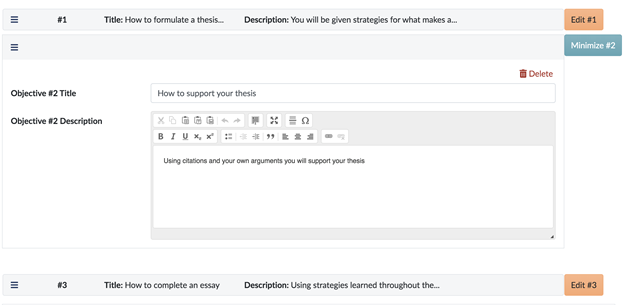
- Section items can be edited by selecting the Edit button for the item you want to edit. You can also see the Delete button in the top-right corner of the expanded section item. To change the order of the sections in your syllabus, just select anywhere on the item’s gray bar and drag-drop it.
Importing Pre-Approved Content
The Syllabus application comes with various formulated content and sample sections that you can easily integrate into your syllabus and customize as needed. These content block options are sourced from University policies and resources and have been peer-reviewed and approved, with the intent of making syllabus creation more efficient for instructors. Each section type has different content that can be imported.
- Select the Import Content button at the bottom-left of the section editor to bring up the import popup.
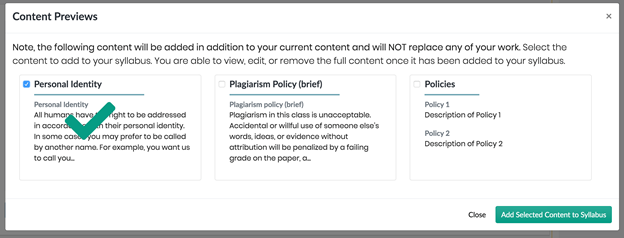
The image above shows the import popup. Each item shows a preview of the full section item. To see the full section item, you need to import it into your syllabus first. This item can always be deleted from your syllabus.
- Select the items you wish to import and then select Add Selected Content to Syllabus. This action will append the selected section items to any other ones you may have.
Section Control Buttons
Save, Delete, and Cancel changes can be found at the bottom of every section editor.

Comments
0 comments
Article is closed for comments.